


2. Evaluate Your Presentation Environment
It is advisable that you find out, prior to delving into the design development of your presentation template, what the venue atmosphere is like. These specs should be heavily weighed and factored into the presentation design development. Below are some key questions I recommend answering prior to moving on to the design phase of your slide presentation project:
- Will the presentation be projected or displayed on a flat panel screen?
- Will the room be well lit, have ambient light, or be completely dark?
- Is the room a large ballroom or a small conference room?
- Will there be a printed handout to accompany the presentation?
If so, will the handouts be printed in color or B&W?
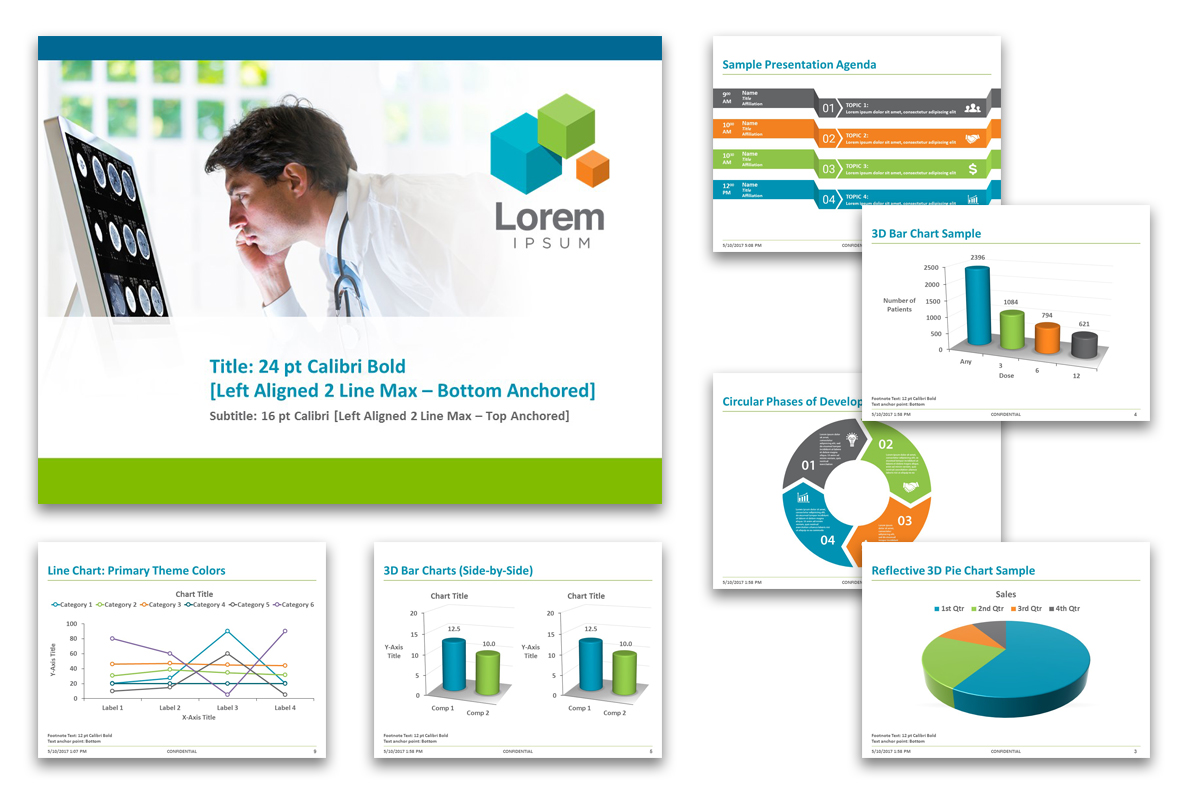
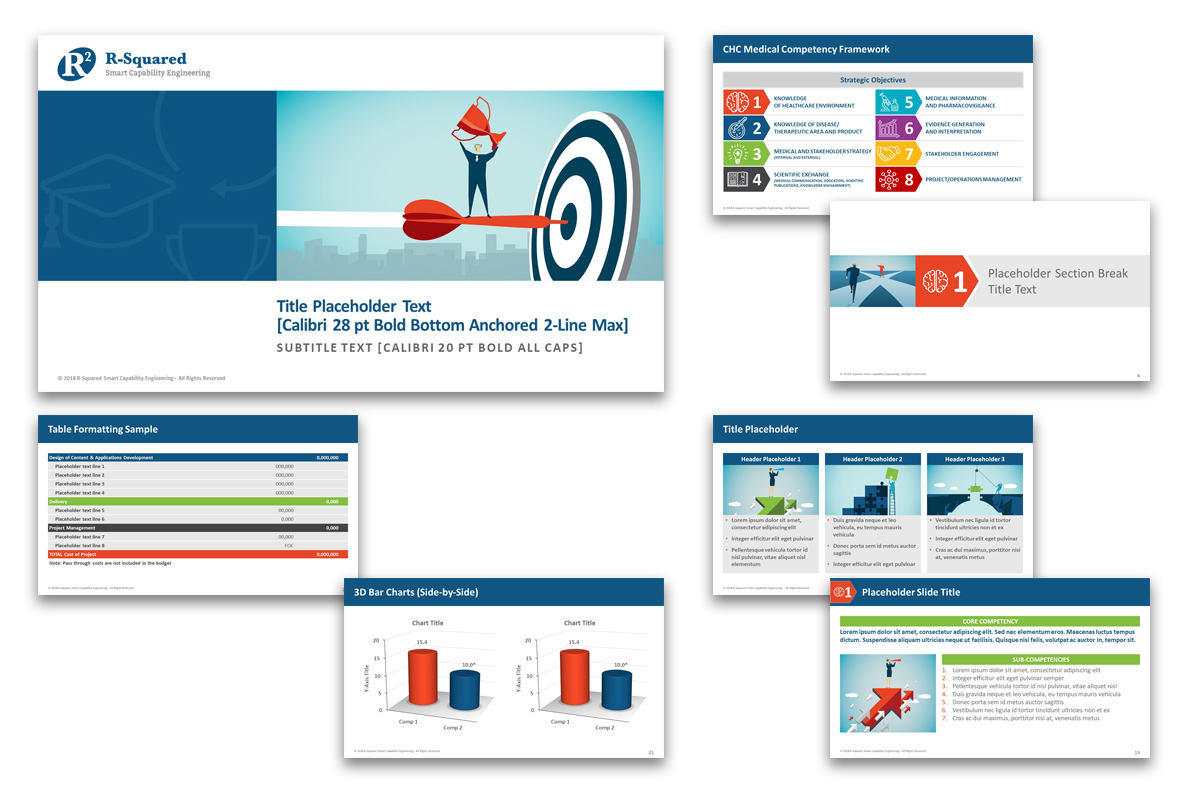
3. Develop Your Design Theme
It is highly recommended that you use a presentation design template theme for your slides and preferably one that has been designed to coincide with your company’s branding. This will give your presentation a more cohesive look as opposed to appearing as if you just pulled slides together from all different sources.

4. Consider The Basic Design Elements That Make Up The PowerPoint Template Theme
I have come to experience, after so many years of assisting professionals with pulling together their presentations, that this is the area that most struggle with. Chances are, whether you’ve been tasked with this assignment, or have personally chosen to speak to an audience regarding a certain topic, you likely have quite a bit to share regarding the subject matter. You may even be regarded as a Key Opinion Leader (KOL) on the category. If that is the case, then you should have plenty of content to drop in but may struggle on how best to format it for maximum impact and comprehension. Below I have compiled a list of the most important design factors to consider.
A. SLIDE BACKGROUND
When it comes to design in general for presentations, form should follow function. I highly recommend keeping image backgrounds on the title and section break slides and only minimally branding the interior slide layouts.
DO:
- …use a branded company template whenever possible. As mentioned above, it’s always best to represent your company in a cohesive manner across all mediums including your presentation. Even if you don’t have a branded company template, you can at least tie in your company’s brand colors. For more information on how to customize your PowerPoint theme colors click here.
For more information on branded PowerPoint templates click here.
- …keep left and right margins equal and narrow. I’ve seen countless templates wherein the designer (who is sometimes also the presenter) tries to get “jazzy” with the interior slide background and add a curved design element that yields asymmetrical right and left margins. It only works in the initial design phase because it is visually appealing, adds interest, and may even include brand design elements. However, in the long run, it creates a production nightmare once actual content needs to be dropped in. Ultimately, the first thing to go is the asymmetrical background graphic that limits the content area. Trust me…keep it simple and symmetrical right from the start. You’ll thank me later. Alternatively, you can still have an asymmetrical option for interior slides. However, I’d advise not having it as the main interior slide layout.
DON’T:
- …use gradient background colors in the content area. It’s best to steer clear of gradient backgrounds and simply use a solid color because some content may contain graphics with various value hues or gradients that may drop out against a certain portion of a gradient background.
- …simply insert a JPEG image into the slide master and send it to the back. There is a proper way to use an image as a slide background and simply inserting it onto the slide master is not it. Doing so will not only increase your file size each time that particular layout is repeated, but if the deck is being circulated amongst team members, you risk someone inadvertently shifting the image or deleting it. A background image should be locked in place. For more information on how to properly use an image as a slide background or watermark please click here.
B. COLOR CHOICES
Though it may not seem like a major factor to consider, the colors chosen will determine the clarity of visuals and greatly affect how impactful graphics will be in conveying messages effectively.
DO:
- …use at least 8 to 10 highly contrasting colors. Choose color wisely for maximum impact, clarity, and legibility. High contrast is key. These can be saturated tones, muted tones, or a combination that work well together, but the key is that they be distinguishable from one another.
- …use the squint test. The colors you choose for your theme should pass the squint test. In other words, if you squint, you should easily be able to distinguish each color from the next…especially in a line graph.
- …consider your presentation environment. Earlier on I mentioned that a key consideration is the presentation environment. High contrasting colors are especially important in the case of projection environments (as opposed to an HD flat panel display), because the way in which colors show up on your laptop may deviate greatly when converted to the spectrum of light.

DON’T:
- …choose multiple shades of the same color as a color scheme. While many may all too often gravitate towards a monochromatic or analogous color scheme, opting to do so may jeopardize clear and succinct communication in presentations that are laden with charts and graphs. The reason is simply due in part to the lack of contrast or hue differentiation (especially with line graphs) whereby it becomes difficult to identify, even with a legend, which line represents which comparator.
This is particularly true with variations of blue. On your screen there are endless blue hues. However, when translated to a projection environment, the various shades of blue you’ve chosen may default to only 2 or 3 distinguishable hues. This becomes a problem in such scenarios where a pharmaceutical company, for example, showcases a line graph that utilizes shades of blue for different dosage levels of the same drug. Unfortunately, they will often find out in the presentation environment that the audience cannot discern which dosage level they are referencing in their talking points because too many of the lines appear to be the same color.
C. FONT & TEXT SIZES
The most important question to consider when choosing fonts and text sizes for a presentation is:
“Can the person in the back of the room see this?”
I cannot stress enough the importance of legibility for a presentation. In terms of text sizes…
BIGGER is usually better!
DO:
- …choose font sizes that your audience will actually be able to see. Seems obvious doesn’t it? Unfortunately, it’s not as I have all too often come across tables with 5 pt text.
- …choose a sans serif font. While serif fonts may work well for printed documents, it is much easier to read san serif fonts on screen and when projected as the serif may get lost in bright lighting situations. The exception to this is in such cases when a serif font is an important and recognizable part of the company brand.
- …stick with the default fonts preloaded in PowerPoint. This will make things much easier in situations where you are working with other team members and the slide deck will be circulated.
Recommended Font Sizes:
- Headers – 28 to 36 pts, depending on content and how many lines (2 lines max is preferable). Can be larger if content is light
- Subheaders – Between 18 to 28 pts
- Body text – Between 16 to 28 pts
- Tables and graph labels – Font sizes will obviously vary but may be the same or smaller than the body text. Go as large as the content area will allow while keeping in mind that it is advisable to stay within 12 to 18 pts. If there is a situation where you are seeking to show an entire content-heavy table on one slide, by all means, reduce the font size. However, if there is specific section you’d like the audience to focus on, consider overlaying a zoomed in screen grab that highlights that particular section of the table. This can be either static or animated for additional impact and emphasis
- Infographic text – Font sizes will vary greatly as infographics usually include large numbers to highlight areas of interest. The smallest text should be a minimum of 12 pts and the largest usually does not surpass 115 pts
- Footer text – If you are in a typical presentation environment, be it a large ballroom or more intimate boardroom, most often the smallest font size on a slide legible by the audience is 12 to 14 pts
- …use more than 2 fonts. Personally, I try to stick with one font as much as possible and just vary the font weight and/or color for emphasis whenever necessary.
- …vary font sizes unnecessarily. It’s amazing how simply formatting all the labels within a graph to the same font size will declutter a slide. A good rule of thumb for graph label font sizes is to determine what the absolute minimum size needs to be for any label within the graph and then make everything else that same size. The exception would be in the case where a graph has so many data points that the labels need to be tiny. In such cases, it’s ok to keep all the other labels on the graph to a more legible size and only scale down the size of the data point labels. If you need to emphasize the graph header label or axis labels, you can do so by making them bold, changing the color, or both.
5. Keep Content Balanced and Engaging
We’ve all heard of the saying “less is more.” Please, for the love of your audience, keep this saying in the back of your mind always when pulling together a slide presentation. Below are a few recommendations:
DO:
- …include a good balance of text and visuals such as infographics, tables, and simple animations. This is key to keeping your audience engaged and maximizes the likelihood that the intended message will be understood.
- …keep text to a maximum of 3 to 5 bullets per section. If the section requires more text than that, then there is likely an opportunity to convert the text into a visual graphic. For more information on custom infographics click here.
- …use the same animation style throughout. If you’re not well-versed in animation but feel like you’d like to incorporate it for that extra bit of oomph, keep to one or two animation affects at most and apply the same style across all slides that animate. For example, a simple fade or wipe right with similar timing keeps it clean and professional.
DON’T:
- …create a presentation that serves as a script for your audience to read along with you. Text should be kept to a minimum and bulleted text is always preferred over long, drawn out paragraphs.
- …incorporate every animation function that PowerPoint offers. Remember…less is more! The overuse of animation can quickly become obnoxious and, if completely over-the-top can, instead of emphasizing a point, have the opposite desired effect because the animation becomes a distraction.

6. Proof Everything…Thrice…and Then Have Someone Else Proof it!
We’ve all been there in the middle of a meeting, listening to someone present when the next slide comes up and your eye is immediately drawn to that typo right smack dab in the middle of the second bullet point. Oops! If you’re anything like me, you no longer listen to whatever they’re saying and can only focus on that misspelled word. I mean…I get it…there it is…right there for everyone to see. You think to yourself “didn’t they proof?” It happens! But it didn’t have to happen if only they had proofed it THRICE and then some!
I Love Working With Creative Minds
If you are interested in working together, send us an inquiry and we'll be in touch soon!